
Even with regular cleaning of various surfaces in our homes, we often overlook the maintenance of our walls. While vertical surfaces may not accumulate as much visible dirt as horizontal ones, it is still essential to periodically clean our walls.
The optimal times for a thorough wall cleaning are early spring or late fall. However, individuals with pets, particularly dogs, or those who smoke indoors may find it necessary to clean their walls more frequently.
Occasionally, stubborn stains or dirt may persist, requiring special attention. That’s why we’ve provided comprehensive instructions throughout this article on how to effectively clean walls without causing any damage to the paint.
The good news is that the materials needed to tackle these stubborn spots are likely already available in your kitchen!
How to Clean Walls Without Damaging Paint – Effective Methods for Wall Cleaning
Banish Dust First!
Initiate your cleaning routine by banishing dust. Though your walls may not accumulate a noticeable layer of dust, loose dirt or grime might be present. To avoid worsening the situation when wet treating your walls, it’s crucial to eliminate this initial layer. Utilize a clean and soft cloth, a feather duster, a vacuum cleaner with a ‘dust brush’ attachment, or even a rag affixed to your mophead or spare applicator. Ensure that the cleaning equipment is both clean and dry.
Once the pesky dust is gone, proceed to tackle more persistent issues.
1. Detergent and Water Solution
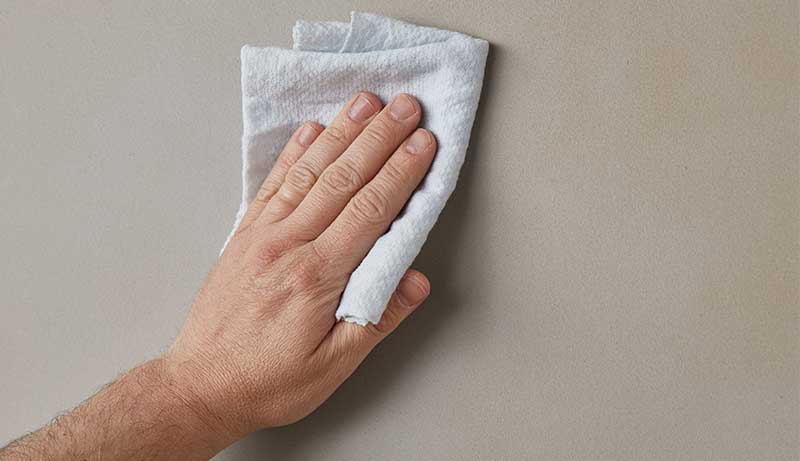
Craft a classic soapy solution using household ingredients. Mix a gallon of warm water with a teaspoon of mild detergent. Soak a soft sponge or rag in the solution, ensuring excess water is wrung out. Alternatively, a sponge mop can be used. Clean your walls in up-and-down strokes until they are spotless. Conclude the process by wiping the walls with a clean, dry microfiber cloth.
2. Water and Vinegar Solution
This age-old method is excellent for maintaining the brilliance of white walls and combating greasy stains. Create a solution by combining a cup of distilled white vinegar with a gallon of warm water. Apply the solution to your wall with a soft sponge, gently wiping away stains. Follow up by wiping the wall with a damp cloth and allowing it to dry thoroughly.
3. Baking Soda Magic
Harness the power of baking soda, a versatile kitchen ingredient. This miraculous substance absorbs grease, making it effective against oily fingerprints, scuffs, and crayon marks on walls. Mix three parts baking soda with one part water and apply it gently to the offending mark using a towel. Let it sit for a while, as the slightly abrasive baking soda captures the grease, making it easy to wipe away. Exercise caution, be gentle, and perform a patch test on the wall beforehand.
4. Cornstarch Quick Fix
For swift resolution of small grease stains, turn to cornstarch. Apply a small amount of cornstarch (enough to cover the stain) to the affected spot. Allow it to sit for some time, then gently scrape it off with a blunt object. Follow up by cleaning with an all-purpose cleaner to ensure a thorough finish.
5. Fabric Softener
Indeed, fabric softener can serve a surprising dual purpose—keeping your clothes soft and aiding in spot-cleaning your walls. If your furry friends leave scuff marks from playful interactions or toss their toys around, fabric softener becomes a gentle yet effective solution.
Create a mixture by combining half a bucket of warm water with a cap of your regular fabric softener. Immerse a scrubbing pad or dish brush into the solution and delicately scrub the affected area until the scuff marks disappear. Finish by wiping the area with a clean cloth and allowing it to air dry, leaving behind a pleasant scent.
6. White Chalk
White chalk, derived from limestone, proves to be an excellent absorber of oil and grease stains on walls. For optimal results, be sure to use white chalk, as colored chalk may exacerbate the stain rather than remedy it.
With a stick of white chalk, create a soft edge to prevent scratches on your wall. Gently rub the blunt edge onto the greasy spot and let it sit for a while. The chalk will efficiently absorb the oil within minutes. Carefully remove the residue using a microfiber cloth, leaving your wall refreshed.
7. Bleach
While bleach is not typically recommended for general interior wall cleaning, it becomes indispensable when dealing with mold issues. Sodium hypochlorite, a disinfectant present in bleach, effectively eliminates surface-level molds.
Prepare a solution by diluting one part bleach with three parts water and transfer it to a spray bottle. Thoroughly saturate the moldy areas by spraying the solution onto the wall. Allow it to sit for some time, then gently scrub the stains and wipe the area clean with a cloth. Ensure the treated area dries properly.
8. Precautions
Considering the unique chemical structure of every paint, it is crucial to conduct a patch test on an inconspicuous area before using any cleaning solution, regardless of its mildness.
Combining and using various chemicals can pose potential hazards. Therefore, always wear gloves when mixing or applying solutions, ventilate the room to prevent exposure to chemical fumes, and protect furniture, switches, power plugs, and electric sockets with coverings during the cleaning process.
Closing Remarks
While the task of cleaning and maintaining your walls may appear challenging, the rewards are undeniably satisfying. With a bit of patience and thoughtful care, you can effectively preserve the pristine condition of your walls and, by extension, ensure the overall beauty of your home.


Leave a Reply